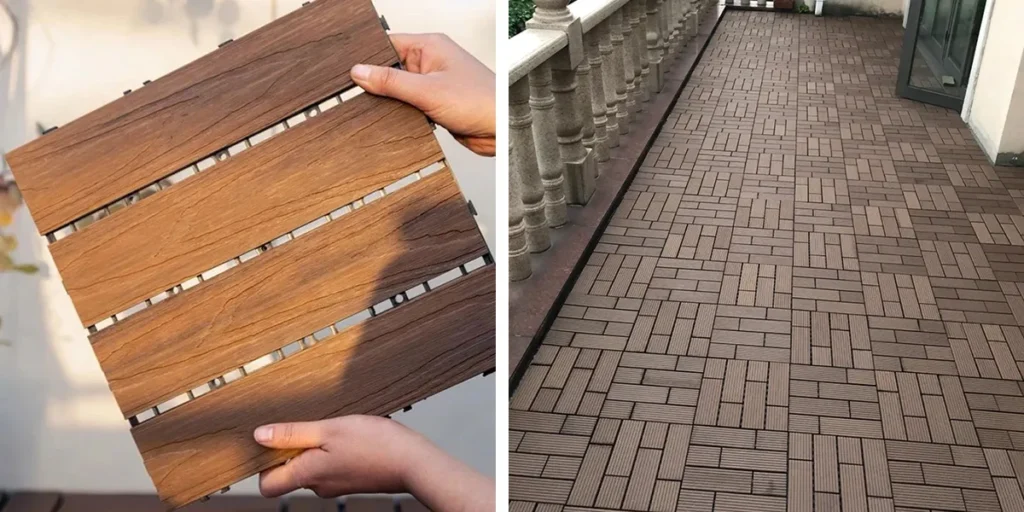
Certainly! Installing composite deck tiles is a straightforward process that can dramatically transform your outdoor space in just a few hours. These tiles are designed for easy DIY installation, allowing you to upgrade your patio, balcony, or deck without the need for professional help. Here’s a step-by-step guide to installing WPC deck tiles:

Step 1: Prepare the Surface
Ensure that the installation surface is flat and stable. Composite WPC deck tiles can be installed over concrete, wood, and even existing tiles, but the surface should be cleaned and free of debris. If you’re installing over grass or dirt, it’s recommended to lay down a weed barrier first.
Step 2: Plan Your Layout
Before starting the installation, plan your tile layout, especially if your space involves edges or corners. This will help you determine if any tiles need to be cut to fit. It’s usually best to start laying tiles from one corner and work your way out.
Step 3: Start Installing the Tiles
Most composite deck tiles feature an interlocking system, making the installation process simple and tool-free. To install, place the edge of one tile over the edge of another and press down firmly until they snap together. Continue this process, making sure to keep the pattern consistent and the tiles flush with each other.
Step 4: Cut Tiles if Necessary
If you reach the end of your space and find that a full tile won’t fit, you may need to cut a tile to size. WPC tiles can be cut using a saw, but always wear appropriate safety gear and measure carefully before cutting.
Step 5: Finish the Perimeter (Optional)
Depending on the type of tiles you’ve chosen, you may have edge or corner pieces that give your installation a finished look. These pieces also interlock with the main tiles and are installed in the same manner.
Step 6: Enjoy Your New Deck
Once all tiles are installed, you’re ready to enjoy your newly transformed space. Composite deck tiles require minimal maintenance, but regular cleaning will keep them looking their best.
How can I ensure proper drainage when installing WPC deck tiles on concrete? >>

Key Tips:
- Check for Level: Throughout the installation, periodically check to make sure the tiles are level. Adjust as necessary by adding or removing the base material.
- Expansion Gaps: Remember that composite materials can expand and contract with temperature changes. Leave a small gap (usually about a quarter inch) around the perimeter and near any fixed objects to allow for this expansion.
- Drainage: Ensure that the installation surface has adequate drainage to prevent water from pooling underneath the tiles.
Composite deck tiles offer a convenient and cost-effective way to enhance your outdoor living space. With their simple installation process and durable, low-maintenance design, you can quickly create a beautiful, functional area that lasts for years.
